Embarking on the journey of baking your own bread can feel like stepping into a master chef's kitchen, especially when it comes to whole wheat. Many home bakers dread the outcome: a dense, crumbly, or even bitter loaf that barely resembles the airy, soft slices they envision. But what if we told you that learning how to make whole wheat bread at home can be not just simple, but incredibly rewarding? Forget those store-bought versions that often compromise on flavor, texture, or nutrition. This comprehensive guide will empower you to create a soft, hearty, and utterly delicious whole wheat bread that's perfect for everything from morning toast to robust sandwiches, proving that healthy bread can be a true culinary delight.
Why Homemade Whole Wheat Bread Reigns Supreme
There's a unique satisfaction that comes with pulling a golden, fragrant loaf of bread from your own oven. When that loaf is whole wheat, the feeling is even better, especially when it shatters the myth that whole wheat bread must be heavy or bland. Our approach ensures your homemade whole wheat bread stands out for several compelling reasons:
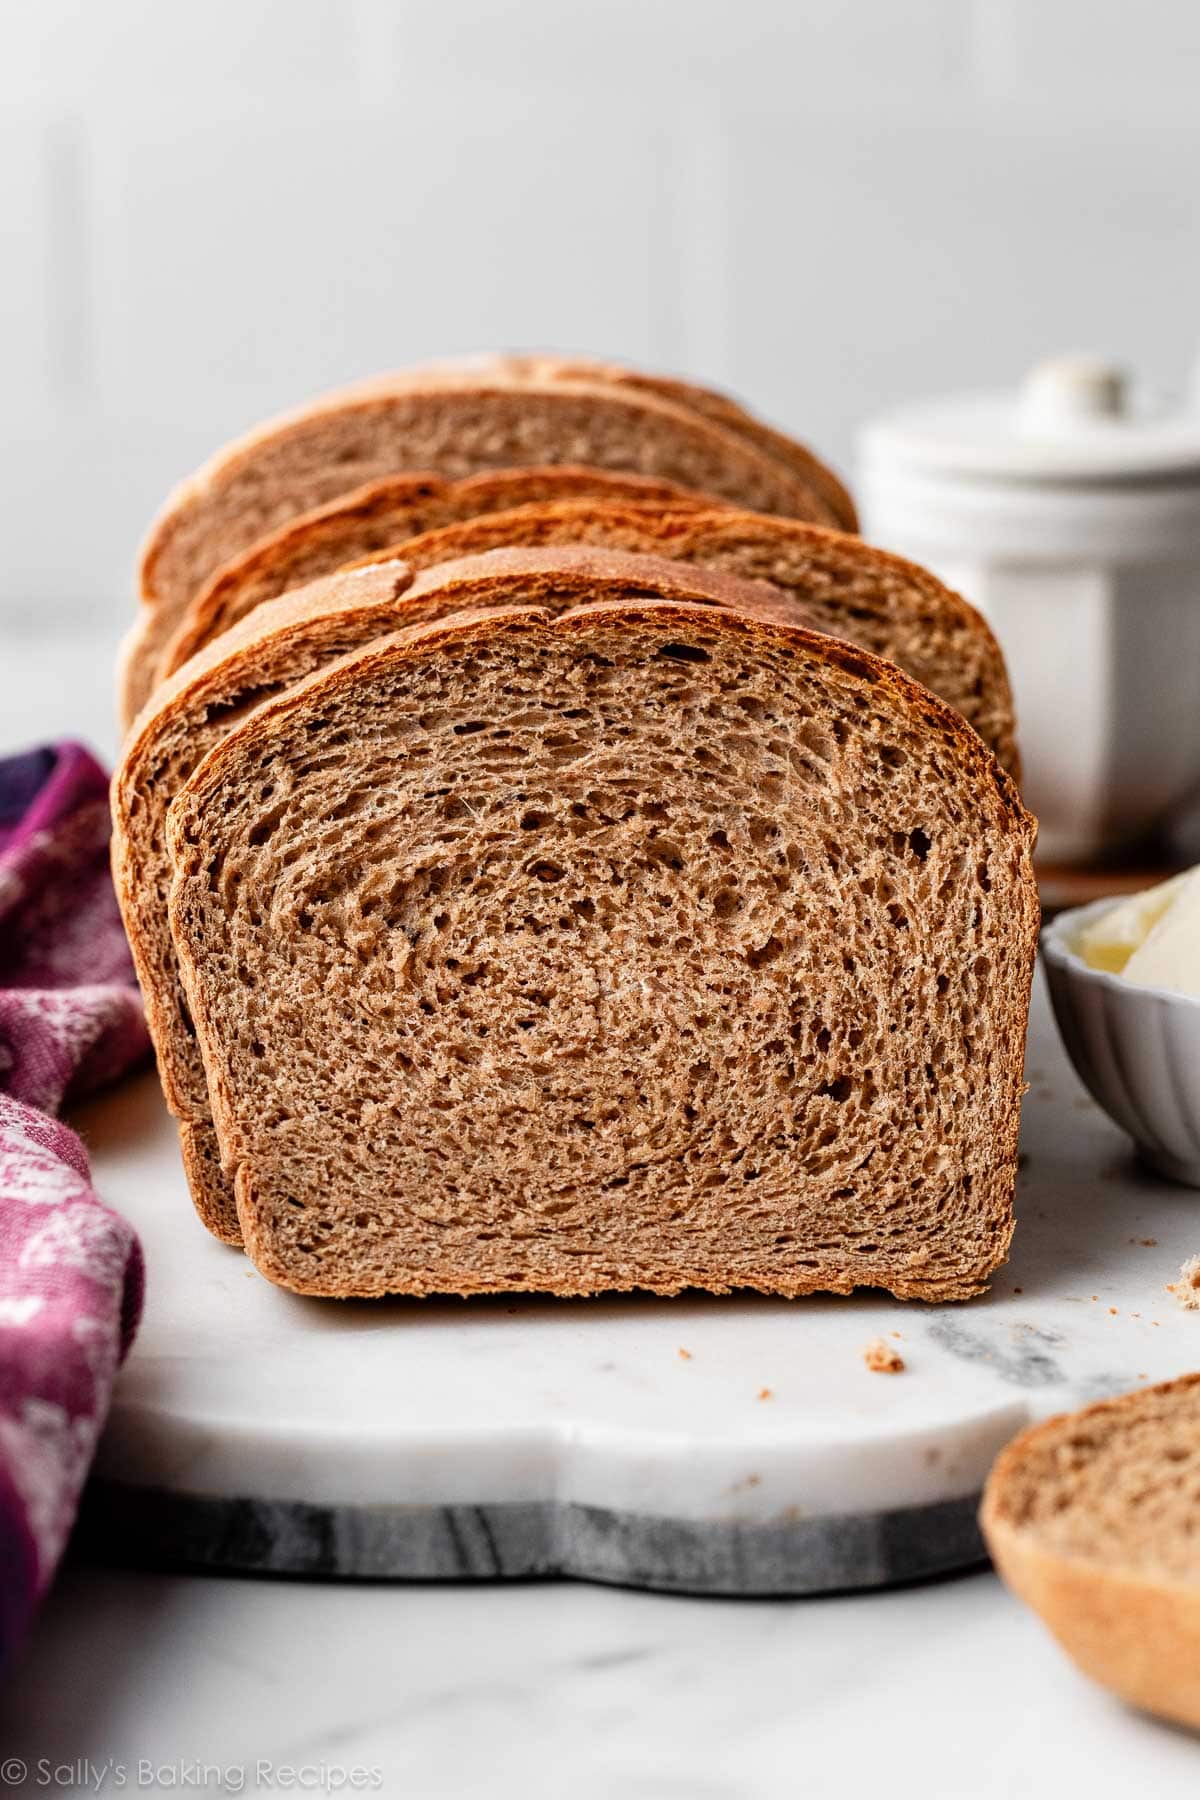
- Unbeatable Taste & Texture: Imagine a bread with a beautifully soft, chewy interior, complemented by a subtly crisp, golden crust. This recipe achieves a perfect balance, avoiding the common pitfalls of density or an overpowering whole wheat taste. It’s hearty without being heavy.
- Superior Nutrition: By making it yourself, you control every ingredient. You benefit from the full fiber content and nutrients of whole wheat flour, free from the preservatives, excessive sugars, and unhealthy fats often found in commercial loaves.
- Incredible Versatility: This bread isn't just a one-trick pony. Its balanced flavor and robust yet tender texture make it ideal for easy homemade whole wheat bread for daily sandwiches, a sturdy base for avocado toast, a delightful companion for soups, or even transformed into decadent French toast.
- Budget-Friendly & Rewarding: Crafting your own bread is surprisingly economical compared to buying artisanal loaves. Plus, the aroma that fills your home and the pride of serving something you've created from scratch are priceless.
- Beginner-Friendly Approach: Despite its impressive results, this recipe is designed to be forgiving and straightforward, making it perfect for novice bakers and seasoned pros alike. We're here to help you bake soft whole wheat bread: no more dense or bitter loaves!
Unlocking the Secret: Essential Ingredients for Superior Soft Whole Wheat Bread
The magic of this recipe lies in a carefully selected blend of just a few pantry staples. Each ingredient plays a vital role in creating the perfect texture, flavor, and rise, specifically addressing common challenges associated with whole wheat baking.
- Whole Wheat Flour: This is the star of the show. It provides essential fiber, vitamins, and a rich, nutty flavor. Tip: Using fresh whole wheat flour can significantly impact flavor, as the natural oils in the germ can oxidize and become bitter over time. Store it in the freezer for extended freshness.
- Water & Whole Milk: While water activates the yeast and hydrates the flour to form gluten structure, whole milk adds crucial fat and proteins. This fat contributes significantly to the bread's softness, moisture, and rich flavor, preventing it from drying out. You'll notice a marked difference in crumb tenderness.
- Honey: Beyond just sweetening, honey is a powerhouse ingredient. It not only provides a natural, balanced sweetness that complements the whole wheat flavor but also acts as excellent "food" for the yeast, encouraging a robust rise. Its hygroscopic nature helps retain moisture, contributing to a softer crumb.
- Unsalted Butter: Similar to milk, butter introduces rich fats that enhance flavor, promote a tender crumb, and extend the bread's shelf life by retaining moisture. Softened butter integrates smoothly into the dough.
- Active Dry or Instant Yeast: The leavening agent responsible for that wonderful rise. Both types work beautifully. Active dry yeast typically requires proofing in warm liquid before mixing, while instant yeast can often be added directly with the dry ingredients, though a quick proof can still ensure its vitality.
- Lemon Juice (or Apple Cider Vinegar): This is one of the unsung heroes of soft whole wheat bread! A small amount of acidity from lemon juice or apple cider vinegar helps to neutralize the phytic acid naturally present in wheat germ. This not only balances any potential bitterness but also helps to relax the gluten structure, resulting in a noticeably softer and less dense loaf.
- Salt: Far more than just a seasoning, salt is critical for balanced flavor, enhancing the natural sweetness of the honey and flour. It also plays a role in regulating yeast activity, preventing the dough from rising too quickly and ensuring a more controlled, even fermentation.
- Optional: Oats + Egg White: For a rustic, artisanal finish, a sprinkle of rolled oats on top, adhered with a light egg white wash, adds visual appeal and a pleasant, chewy texture to the crust.
Mastering the Method: Your Step-by-Step Guide to Baking Whole Wheat Bread at Home
The process of making whole wheat bread at home is divided into a few simple stages, each contributing to the final soft and flavorful result. Follow these steps for success:
Step 1: Create the Flavor-Boosting Sponge
- Combine Liquids & Yeast: In a large mixing bowl (or the bowl of your stand mixer), gently warm your water and milk until lukewarm (around 105-115°F / 40-46°C). Sprinkle in your yeast. If using active dry, let it sit for 5-10 minutes until foamy, indicating it's active. If using instant, you can proceed directly.
- Form the Sponge: Add about 2 cups of your whole wheat flour to the liquid-yeast mixture. Stir well until you have a thick, pancake-like batter. This mixture, known as a "sponge" or pre-ferment, is crucial.
- Allow to Develop: Cover the bowl with plastic wrap or a clean kitchen towel and let it rest at room temperature for 60-90 minutes. During this time, the yeast will become highly active, consuming sugars, building flavor compounds, and initiating gluten development. You'll see it double in size, becoming bubbly and airy. This crucial step contributes significantly to the bread's tenderness and complex flavor, combating the density often found in whole wheat loaves.
Step 2: Form the Dough & Knead for Perfection
- Add Remaining Ingredients: To your risen sponge, add the honey, softened butter, lemon juice (or apple cider vinegar), and salt. Begin to add the remaining whole wheat flour, starting with about half.
- Mix & Knead: Mix with a sturdy spoon or a dough hook on a stand mixer on low speed until the ingredients are just combined. Gradually add the remaining flour, a little at a time, until the dough comes together and starts to pull away from the sides of the bowl. The exact amount of flour can vary based on humidity and flour brand, so trust your judgment.
- Develop Gluten: Increase the mixer speed to medium-low (or turn the dough out onto a lightly floured surface) and knead for 8-10 minutes. The dough should become smooth, elastic, and less sticky. Proper kneading is essential for developing the gluten structure that traps gases and gives bread its rise and chew. If kneading by hand, aim for 12-15 minutes of vigorous work.
Step 3: First Rise (Bulk Fermentation)
- Prepare for Rise: Lightly grease a large bowl. Place the kneaded dough in the bowl, turning it once to coat all sides with a thin layer of oil.
- Proof: Cover the bowl with plastic wrap or a damp kitchen towel. Let the dough rise in a warm, draft-free place for 1 to 1.5 hours, or until it has roughly doubled in size. The warmth helps the yeast to work efficiently.
Step 4: Shape & Second Rise (Proofing)
- Punch Down & Shape: Gently punch down the risen dough to release the gases. Turn it out onto a lightly floured surface. Shape it into a loaf that fits your standard 9x5-inch loaf pan. For a classic sandwich loaf, flatten the dough into a rectangle, roll it tightly into a log, and pinch the seam closed.
- Second Proof: Place the shaped loaf into a lightly greased loaf pan. Cover loosely with plastic wrap or a kitchen towel and let it rise again in a warm spot for another 45-60 minutes, or until it has almost doubled in size and looks puffy. Don't let it overproof; it should still feel a little springy when gently poked.
- Optional Topping: If desired, brush the top of the loaf with a whisked egg white and sprinkle with rolled oats for a rustic finish.
Step 5: Bake to Golden Perfection
- Preheat Oven: While the dough is on its second rise, preheat your oven to 375°F (190°C).
- Bake: Bake for 30-35 minutes, or until the crust is golden brown and the internal temperature reaches 200-205°F (93-96°C) when checked with an instant-read thermometer.
- Cool Completely: This step is critical! Remove the bread from the oven and immediately turn it out onto a wire rack. Let it cool completely for at least 1-2 hours before slicing. Slicing too early can compress the crumb and make the bread gummy. This patient cooling allows residual heat to finish cooking the interior and sets the crumb structure.
Customization & Ingredient Swaps for Every Palate
One of the beauties of learning how to make whole wheat bread at home is the freedom to customize it to your liking or dietary needs.
- Flour Mixes: While this recipe is fantastic for 100% whole wheat, you can experiment. For a lighter texture, swap 1 cup of whole wheat flour for bread flour or all-purpose flour. This creates a softer, less dense crumb while still retaining many whole wheat benefits.
- Dairy-Free Options: Easily convert this recipe to be dairy-free. Substitute whole milk with almond milk, oat milk, or soy milk. For butter, use a high-quality vegan butter stick or olive oil (reduce the amount by about 25% if using oil).
- Sweetener Alternatives: If honey isn't your preference, maple syrup or brown sugar can be used in equal measure. Keep in mind that honey imparts a unique flavor and moisture-retaining quality that others might not fully replicate.
- Acidity Swaps: If you don't have lemon juice, apple cider vinegar works perfectly to provide the necessary acidity to balance the wheat germ.
- Add-ins for Flavor & Texture: Feel free to get creative! Incorporate a handful of seeds (sunflower, sesame, flax, poppy) during the kneading phase for added crunch and nutrition. For a slightly sweeter loaf, dried cranberries or raisins can be folded in.
- Storage Tips: Homemade whole wheat bread freezes beautifully. Once completely cooled, slice the loaf and store the slices in an airtight freezer bag. You can then pull out individual slices as needed for toast or sandwiches, and they'll thaw quickly at room temperature or in a toaster.
Baking homemade whole wheat bread doesn't have to be an intimidating task. With this detailed, versatile recipe and a bit of patience, you'll discover the immense joy and satisfaction of creating a soft, flavorful, and incredibly healthy loaf right in your own kitchen. Say goodbye to dense, uninspiring whole wheat bread and hello to a new favorite that will grace your table for years to come. Enjoy the delicious journey!
